A well-taken overarm measurement tells you more than a jacket size ever will. It shows whether a coat has enough room across the chest, shoulders, and upper arms without pulling, flattening the lapel, or fighting your posture. In formalwear, that difference is often what separates a jacket that merely closes from one that looks composed and feels easy to wear.
The few things that matter before you choose a jacket size
- The reading is a check on upper-body room, not a replacement for chest, sleeve, or jacket-length measurements.
- I measure with the tape level, snug, and relaxed, because posture and tension can shift the number more than people expect.
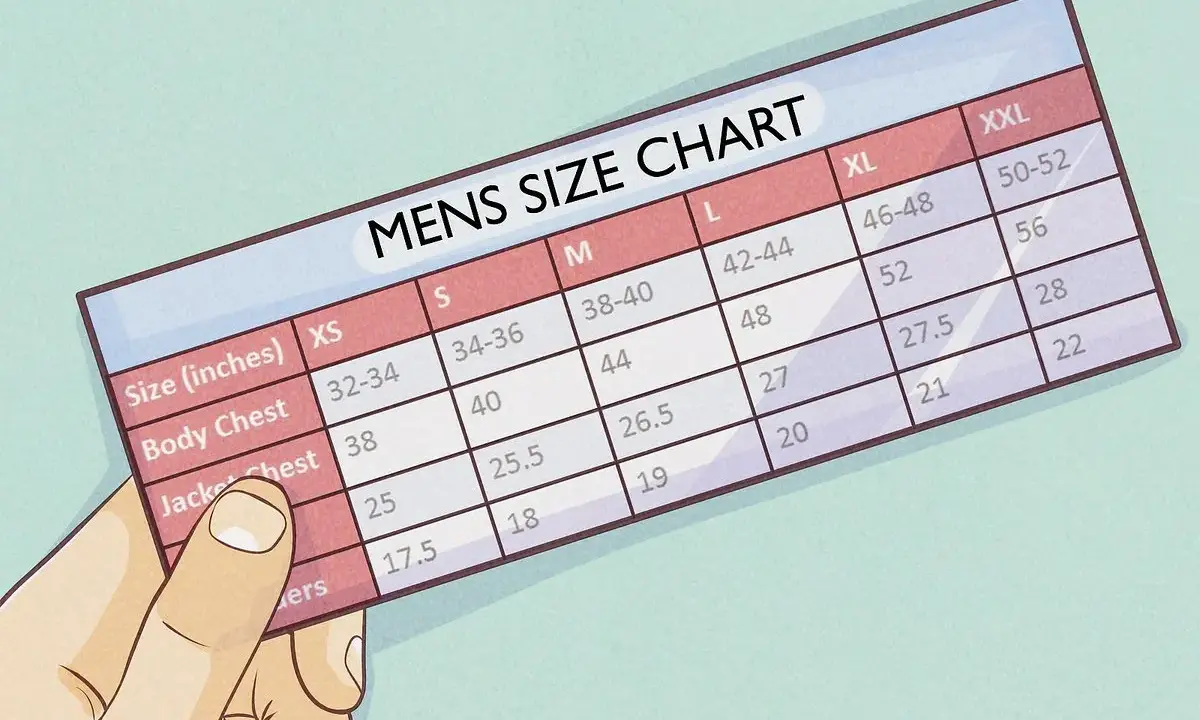
- In many formalwear systems, chest size is the starting point and the overarm figure is the fit test that confirms whether the jacket will move properly.
- A gap of roughly 7 to 9 inches above the chest is common; a bigger gap usually means I look harder at the cut or the next size.
- For suits, dinner jackets, and wedding wear, a clean upper-body fit matters more than squeezing into the smallest label.
What the overarm figure actually tells you
When I take this measurement, I am not trying to find a stylish number. I am checking how much room the jacket needs across the broadest part of the upper body, including the chest and arms. That matters because a suit can look fine on a hanger and still pull hard once the wearer buttons it, reaches for a drink, or sits through a ceremony.
The useful part is simple: this reading helps predict whether the coat will feel generous enough in the chest and bicep area without becoming boxy. It is especially useful for men with athletic builds, broad backs, or fuller upper arms, because a standard chest size alone can hide a fit problem that only appears after the jacket is worn. Once that is clear, the next job is taking the reading cleanly.
How I measure it without introducing errors
The safest way is to keep the body relaxed and the tape honest. I always want a flexible tape measure, a natural stance, and enough patience to repeat the reading once. If the second attempt is off by more than 1/2 inch, I treat the first number as untrustworthy and measure again.
| Step | What to do | Why it matters |
|---|---|---|
| 1 | Stand upright with arms resting naturally at your sides. | This keeps the chest and upper-arm line in a normal position. |
| 2 | Wrap the tape around the broadest part of the chest and upper arms. | The goal is to capture the widest point a jacket must pass over. |
| 3 | Keep the tape level all the way around. | A tape that slopes up or down gives a false reading. |
| 4 | Pull it snug, but do not compress the body. | Tight tape understates the size; loose tape overstates it. |
| 5 | Relax your chest and breathe normally. | Puffing up the chest can add enough room to push you into the wrong size. |
| 6 | Repeat the measurement for a second check. | Consistency matters more than a single impressive number. |
I also prefer to measure over the layer the jacket is meant to sit over. For a business suit or wedding suit, that usually means a shirt, not a thick knit. If the garment is intended to work over a waistcoat or a heavier underlayer, I account for that separately rather than letting a bulky jumper distort the body reading. A clean reading is only half the story; the real value comes from how it is used in sizing.
How tailors use it to choose jacket size
In the UK, jacket labels are still commonly organised around chest inches, so the overarm reading works best as a cross-check. I use it to answer one question: will the jacket close cleanly and still leave enough room for movement? If the upper-body number is close to the chest measurement, the size choice is usually straightforward. If it is much larger, I stop trusting the label on its own.
A useful guide is that this upper-body reading often comes out about 7 to 9 inches larger than the chest. That is not a law, but it is a sensible benchmark. Once the gap reaches 9 inches or more, I start looking harder at the next size up, a different cut, or a made-to-measure option. For formalwear, especially wedding suits and hired jackets, that difference can be the line between a clean front and a jacket that strains as soon as the wearer moves.
| Gap between chest and overarm | What it usually suggests | How I read it |
|---|---|---|
| 4 to 6 inches | Balanced upper body, standard sizing may work well | Start with the chest size and check the waist and shoulders. |
| 7 to 9 inches | Common for broader or more muscular builds | Try the labelled size first, then the next size up if movement feels tight. |
| 9 inches or more | Upper-body volume is driving the fit | Recheck the cut and be ready to move away from standard sizing. |
That logic only works when the tape is honest, which is where people go wrong most often. The measurement is useful, but a few small errors can make it look far more dramatic than the body really is.
The mistakes that distort the reading
I see the same problems again and again. Most of them are easy to avoid, but they change the number enough to send someone toward the wrong jacket size. Here is the version I trust less and the version I would rather see.
| Mistake | What it does to the number | Better approach |
|---|---|---|
| Flexing the chest or arms | Makes the reading too large | Stand relaxed and let the arms hang naturally. |
| Measuring with elbows lifted or shoulders hunched | Changes the body shape that the jacket must fit | Keep posture neutral, as if you were standing for a fitting. |
| Letting the tape dip under the armpits | Skews the circumference and can understate the widest point | Keep the tape around the broadest part of the chest and upper arms. |
| Measuring over a thick jumper or blazer | Adds bulk that the final garment may not need to accommodate | Measure over the layer the jacket is realistically meant to sit over. |
| Taking only one reading | Leaves you with a number that may simply be a bad one | Repeat it and compare the two results. |
Once those errors are out of the way, the next question is whether chest or overarm should lead the decision. That comparison matters because each number solves a different part of the fit puzzle.
Chest, overarm, and when each one should lead
I treat chest size as the label and the upper-body reading as the reality check. One tells me where a jacket sits in a size chart; the other tells me whether the jacket can actually live on a real body without strain. For ready-to-wear suits, that distinction is important. For made-to-measure, it is essential.
| Measurement | What it tells me | Where it matters most | What it will not solve |
|---|---|---|---|
| Chest | The base jacket size in most formalwear systems | Ready-to-wear shopping and basic size selection | Whether the jacket has enough room over the arms and back |
| Overarm | The true upper-body width a jacket must clear | Broader builds, rental suits, and fit checks | Sleeve length, jacket length, and waist shaping |
| Waist | How much suppression the jacket will need | Tailoring and silhouette control | Upper-body comfort or shoulder balance |
If chest and overarm disagree, I usually trust the reading that protects movement and structure in the upper body first, then I fine-tune the waist. That is especially true for wedding wear, where a jacket that looks neat while standing still can still pull across the chest the moment the groom raises a hand, hugs a guest, or sits down for dinner. When the two numbers do not agree, the next move is to understand why before you change the size.
What to do when the result looks unusual
Sometimes the reading makes sense on paper but still feels awkward in practice. That usually means the body has a shape that standard sizing handles poorly, not that the measurement is wrong. In those cases, I start looking at the build rather than obsessing over the label.
- If the upper body is broad and the waist is relatively trim, I choose the size that gives the chest and arms room, then let a tailor shape the waist.
- If the chest is large but the arms are not especially full, I check that the jacket does not become unnecessarily boxy when I size up.
- If the waist is close to the chest size, I pay attention to button strain, because a jacket can appear to fit from the front and still feel tight when closed.
- If one shoulder or side of the torso is noticeably fuller, I expect a fitting adjustment later, because a tape number will not reveal that asymmetry.
- If the reading is far above the chest figure, I stop trying to force a standard cut to behave like a bespoke one.
For a groom, a best man, or anyone ordering formalwear for an event, the safest choice is usually the one that closes cleanly and allows movement first, then gets refined. A slightly roomier coat can be altered; a jacket that strains across the front is much harder to rescue without changing its character. Once that decision is made, the jacket fitting becomes much easier to read.
What a clean reading changes in a real fitting
When I trust the measurement, I can focus on the parts of the jacket that matter visually: the lapel roll, the button stance, the shoulder line, and how the front hangs when the wearer moves. A good upper-body fit should not pinch under the arm, pull diagonally across the chest, or force the front edges apart when the jacket is fastened. It should look calm.
That calm is what readers actually want when they talk about fit. They are not chasing a technical number for its own sake; they want a suit that works at a wedding, in a boardroom, or under a dinner jacket without constant adjusting. My practical rule is simple: take the reading carefully, compare it with chest and waist, and choose the jacket that leaves room for posture, not just for standing still. If the upper body is right, the rest of the tailoring has a proper foundation.